PAINTING & WALLS GUIDE
How to Patch Drywall: Nail Pops, Dents and Fist-Size Holes
How to patch drywall by hole size: spackle for nail holes, a new screw for nail pops, tape for small holes, and a drywall plug for fist-size damage. Then prime.
How to patch drywall comes down to the size of the damage. Nail holes and shallow dents just need spackle or joint compound in two thin coats. A nail pop needs a new screw about 1-1/2 in away before you fill anything, holes up to about 2 in get bridged with tape, and a fist-size hole gets a new piece of drywall. Whatever the size, finish with sanding and primer, or the patch will show through the paint.
The fixes below go from smallest to largest. The one most people get wrong is the nail pop, so start there if that's your problem.
How to patch drywall by hole size
| Damage | Fix | Typical coats |
|---|---|---|
| Nail hole, small dent | Spackle or joint compound with a putty knife | 1 to 2 |
| Nail or screw pop | Re-fasten next to it, then fill both dimples | 2 to 3 |
| Hole up to about 1 in | Compound plus a strip of paper tape | 2 to 3 |
| Hole about 1 to 2-1/2 in | Two strips of tape criss-crossed, or a mesh patch | 2 to 3 |
| Hole up to about 6×6 in (doorknob, fist) | California patch: a drywall plug with paper flanges | 2 to 3 |
| Bigger, or water-damaged | Cut back, add backing, screw in a new piece, tape all four sides | 3 |
The tape thresholds follow National Gypsum's repair sheet, and the 6×6 in limit for the California patch comes from USG.
Nail holes and small dents
Sherwin-Williams' pro repair guidance says to use spackling compound when the damage is under about 1/8 in across, and joint compound for bigger, deeper scrapes. Cut away any loose face paper first, sand lightly so no rough paper edges stick up, and wipe off the dust.
Load the putty knife, pull it across the dent, then scrape it nearly clean with a second pass at a right angle. Compound shrinks as it dries, so plan on a second coat rather than overfilling the first. A fat blob you have to sand flat takes longer than two thin passes.
Nail pops: don't just hammer them back
A nail pop happens when the board isn't held tight to the framing, so the nail head pushes through the finish. Tapping it back in and spackling over it hides it for a season, and then it comes back.
The fix from both USG and National Gypsum is to drive a new fastener about 1-1/2 in from the popped one, into the stud, setting it in a shallow dimple without tearing the paper. Then either drive and dimple the old nail or, as Sherwin-Williams suggests, pull it out if you can. Press the board firmly against the stud while you drive the new one; that's the whole point. I use a drywall screw rather than a nail; USG notes screws hold better than wallboard nails and minimize popping.
Fill both dimples with compound. National Gypsum allows 24 hours of drying between coats for ready-mixed compound, so this is a two- or three-evening job, not a ten-minute one.
Small holes: tape over the gap
Once a hole is bigger than you can bridge with a knife pass, the compound needs something to hang on. For holes under about 1 in, National Gypsum's method is a layer of compound, a strip of paper tape pressed into it, then a thin coat over the top. Between 1 and 2-1/2 in, it adds a second strip criss-crossed over the first. USG's repair kit instructions describe the same thing for holes around 2 in, using two or three strips.
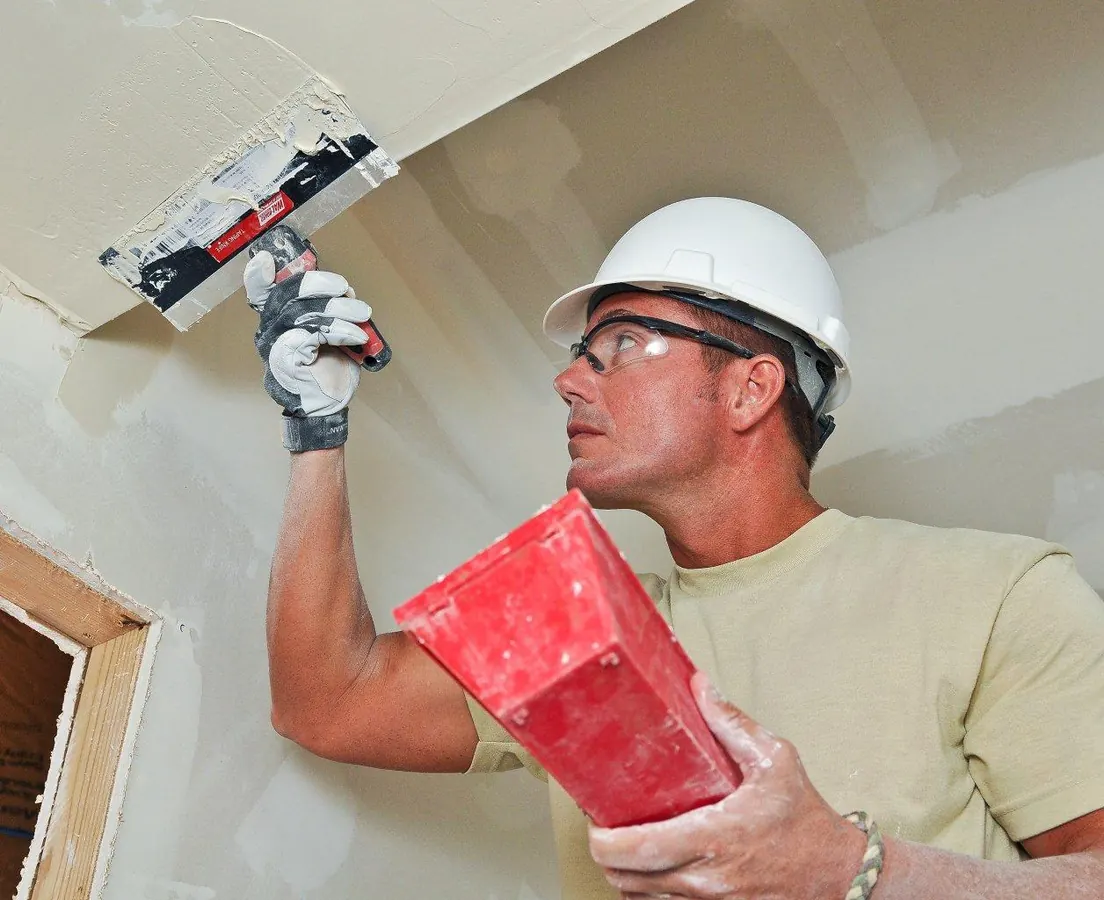
Self-adhesive fiberglass mesh is the easier option at this size. Sherwin-Williams' homeowner instructions stretch mesh across the hole, push compound through and around it, and let it dry overnight before sanding. Whichever you use, feather each coat a few inches wider than the last so the edge disappears.
.jpg)
Fist-size holes: the California patch
For a doorknob hole or a fist through the wall, a sticky mesh patch is too weak and too visible. USG recommends a "California patch" for holes about 6×6 in and under. It needs no backing and no tape.
- Cut a square from scrap drywall 2 in larger than the hole each way.
- Lay it face down. Score the brown back paper about 1 in in from each edge, snap the gypsum and peel it off the paper, leaving a plug with a 1 in flange of face paper all round.
- Hold the plug over the hole, trace around the gypsum part, and cut the wall along those lines with a drywall saw.
- Butter the paper flanges with a thin layer of joint compound, press the plug in flush, and smooth the flanges flat with a 4 to 6 in knife.
- Skim a thin coat over the whole patch, let it dry, sand, and repeat until it's smooth.
Before you cut, check for wires and pipes behind the wall. A hole from a doorknob is usually right where nothing runs, but a fist hole can be anywhere.
Larger holes and water damage
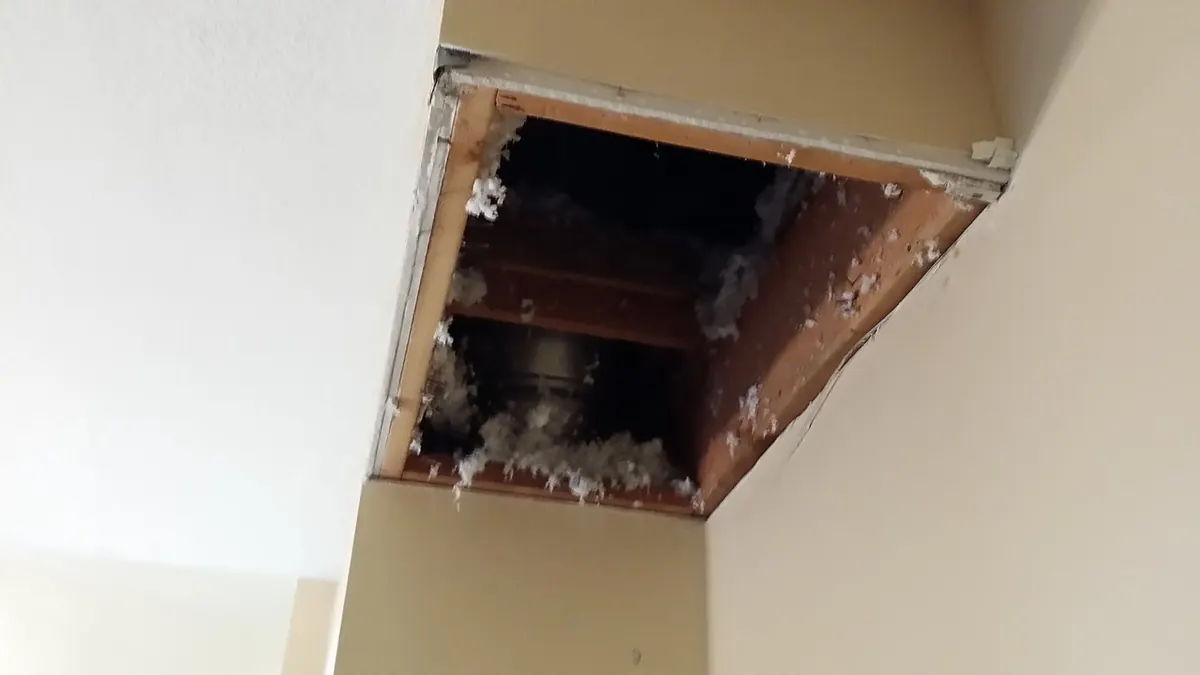
Past about 6 in, or anywhere the board is soft from a leak, cut the damage out completely. USG's guide has you cut a clean rectangle back toward the studs with a utility knife and a keyhole saw, then slip drywall repair clips onto the edges as backing, screw the new piece to them, and tape all four sides without overlapping the tape. Plan on three coats, letting each one harden before the next.

If you'd rather not wait a day per coat, setting-type compound helps. USG's Easy Sand 90 hardens in roughly 85 to 130 minutes, and USG says to mix only what you can use in 60 minutes, because mixed material can't be saved.
Sand, prime, then paint
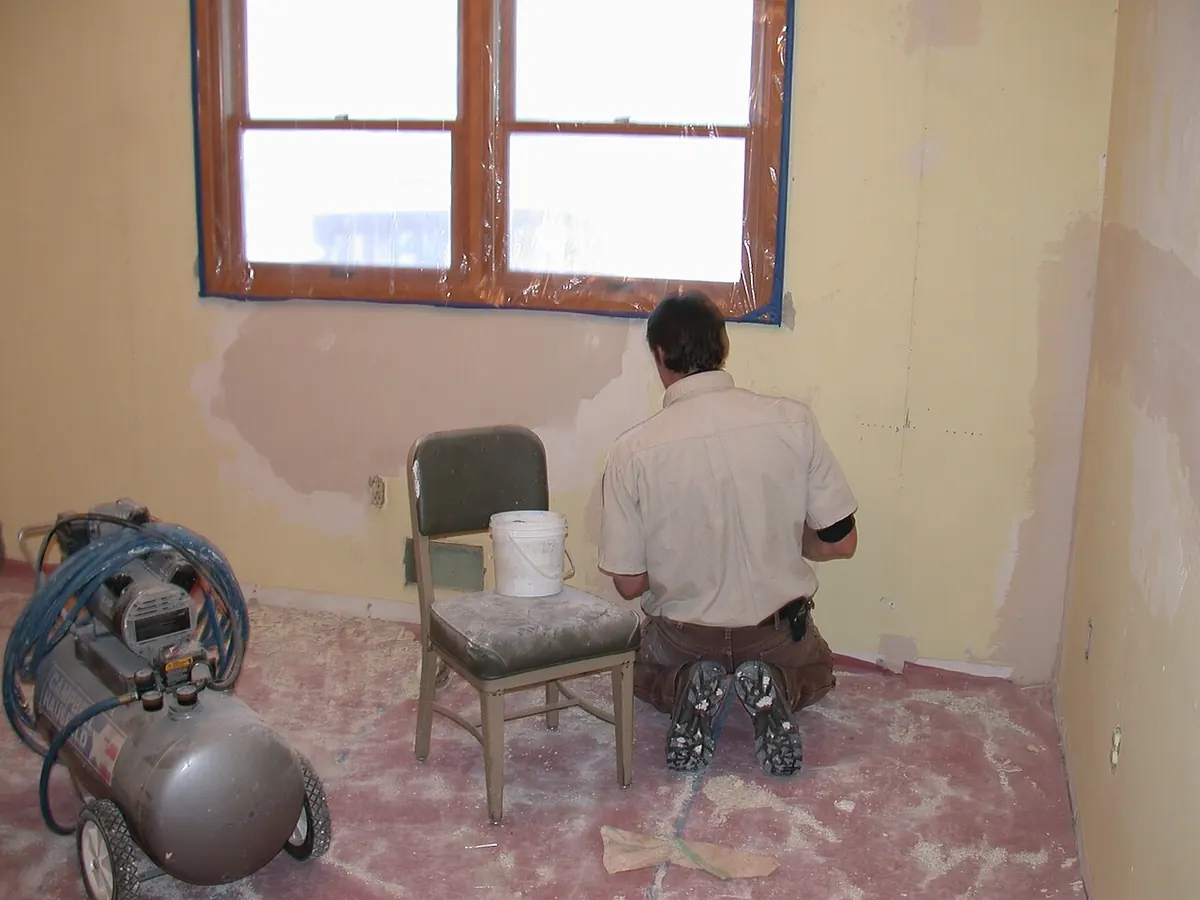
This is the step that separates a patch you can see from one you can't. Sherwin-Williams points out that joint compound is porous, so if you paint straight over it, the sheen and the color of the touch-up won't match the wall around it. Prime every patch. USG recommends its First Coat primer or a flat latex paint with high solids content as the prime coat.
.jpg)
For the topcoat, Sherwin-Williams suggests thinning latex 5 to 10 percent with water and using the same tool the wall was painted with, so a rolled wall gets rolled, not brushed. Even then, a single patch in the middle of a wall can show in raking light. Repainting the whole wall corner to corner is often the honest fix. The paint calculator tells you how much that takes, and the primer guide covers spot priming versus a full coat.
Mistakes that make a patch show
Overfilling is the most common: one thick coat that shrinks, cracks or needs heavy sanding that scuffs the paper around it. Next is sanding too hard and fuzzing the face paper, then painting over bare compound without primer. And mesh patches on holes that are really too big for them tend to telegraph a square outline through the paint. If you can push the edges of the hole in with a thumb, cut it back and plug it.
FAQ
Can I use spackle instead of joint compound?
For nail holes and small dents, yes. Spackle is easy to work in small amounts. For anything you're taping, or a California patch, use joint compound, since that's what the tape and plug methods from USG and National Gypsum are written for.
How long should drywall mud dry between coats?
For ready-mixed joint compound, National Gypsum allows 24 hours between coats. Lightweight spackle on a nail hole can be ready in a few hours, per Sherwin-Williams. Setting-type compound hardens by chemical reaction, so it follows the time on the bag rather than the humidity in the room.
Why does my patch show through the paint?
Usually because it wasn't primed. Bare compound absorbs paint differently from the painted wall around it, so the patch looks flatter or a slightly different shade. Prime it, then repaint, and for a large patch paint the whole wall.
When is it time to replace a section instead of patching?
When the board is soft, crumbles, or has been wet. A California patch handles clean impact holes up to about 6×6 in; beyond that, or with any water damage, cut out back to solid board and fit a new piece. If you end up replacing whole walls, the drywall sheet guide and the drywall calculator will help you order.
Sources
- USG · Sheetrock Brand Gypsum Panels Installation and Finish Guide (J371), Repairing Damaged Panels
- USG · Sheetrock Brand Drywall Repair Kits application tips (J1802)
- USG · Surfaces and Finishes: How-To Repair Guides (California patch)
- National Gypsum · ProForm Drywall Finishing & Repair
- Sherwin-Williams · Repair and Touch Up for Pros
Estimates and rules of thumb in these guides are for planning. Always confirm product coverage, local codes and supplier figures before you buy.
Image credits
- Worker in a hard hat spreading joint compound with a wide taping knife along a drywall seam near the ceiling. Photo: Georgia National Guard, via Wikimedia Commons, CC BY 2.0
- Rectangular opening cut into a ceiling soffit exposing wood framing and loose insulation. Photo: Carl Nurmi, via Wikimedia Commons, CC BY 3.0
- A painted room wall with several patched areas of white compound waiting for primer. Photo: USFWS Mountain Prairie (Rob Holm), via Wikimedia Commons, Public domain
Photos are resized and converted to WebP for this site; no other changes. Each remains under its original licence.
Related guides
Painting & Walls · Guide
How Many Sheets of Drywall Do I Need for a Room?
How many sheets of drywall do I need? For 8 ft walls, perimeter ÷ 4 gives 4×8 sheets, plus ceiling area ÷ 32, plus 10 to 15 percent. Worked examples inside.
Painting & Walls · Guide
Can You Paint Over Wallpaper? When It Works and When to Strip It
Can you paint over wallpaper? Yes, if it's tight, smooth and not vinyl, and you seal it with an oil-based primer first. Here's the test, the steps, and when stripping wins.
Painting & Walls · Guide
How Long Does Paint Need to Dry Between Coats?
How long between coats of paint: 2 to 4 hours for latex wall paint, overnight for oil. Recoat times by product, primer, humidity and temperature, plus dry vs cure.