FLOORING & TILE COMPARISON
Sanded vs Unsanded Grout: Which One for Your Joint Width
Sanded vs unsanded grout comes down to joint width: unsanded for joints up to 1/8 inch, sanded from 1/8 inch up. Plus the tiles sand scratches and worked bag counts.
For sanded vs unsanded grout, the joint width decides it: use unsanded grout for joints from 1/16 to 1/8 inch, and sanded grout for joints of 1/8 inch and wider. Exactly 1/8 inch is the overlap, and there the tile surface breaks the tie: anything glossy, glass or polished gets unsanded, everything else gets sanded. Get this wrong in either direction and the grout fails, just in different ways.
That's the whole rule. The rest of this guide is why it works, where it bends, and how much of each you'll actually buy.
The joint-width rule, with the manufacturers' numbers
Every major grout maker draws the line in roughly the same place. These are the published ranges for their standard cement grouts:
| Grout | Joint width it's made for |
|---|---|
| MAPEI Keracolor U (unsanded) | 1/16 to 1/8 in |
| CUSTOM Polyblend Plus Non-Sanded | up to 1/8 in |
| MAPEI Keracolor S (sanded) | 1/8 to 5/8 in |
| CUSTOM Polyblend Plus Sanded | 1/8 to 1/2 in |
The sand isn't decoration. It's aggregate, the same job gravel does in concrete: it bulks up the grout so a wide joint doesn't shrink, crack and sink as it cures. Without it, a 1/4 inch joint is mostly cement paste, and paste shrinks.
Why unsanded fails in wide joints
Put unsanded grout in a joint wider than 1/8 inch and you'll see two things. MAPEI says it may get hairline cracks and dry lower than the tile surface. That second one is the giveaway: the joint looks scooped out, holds dirt, and the tile edges stand proud and chip.
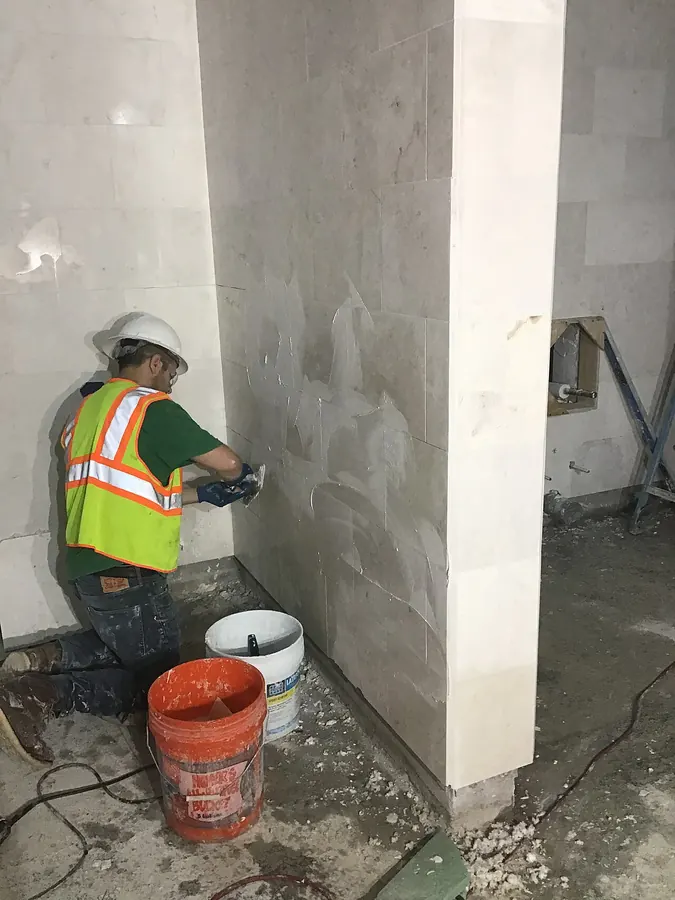
People do this because unsanded is smoother and easier to wipe clean, and because they bought one box for the wall and want to finish the floor with it. Don't. A 12 by 24 inch porcelain floor with 3/16 inch joints needs sand in the grout.
.jpg)
Why sanded fails in tight joints
The opposite mistake is quieter and shows up later. Sanded grout in a 1/16 inch joint is like trying to push gravel through a mail slot: the sand grains bridge across the gap before the grout reaches the bottom. MAPEI's explanation is that it's hard to pack the grout fully into the joint, which leaves voids under the surface that turn into missing grout over time. It can look fine the day you sponge it off. Six months of mopping later, the thin skin on top breaks through.
The scratch problem: when the tile, not the joint, decides
Sand is an abrasive, and you're about to rub it across the face of every tile with a float. On glazed ceramic floor tile and porcelain, that's a non-issue. On softer or shinier surfaces it isn't.
The manufacturers are consistent here. MAPEI says its sanded grout may scratch glass and delicate glossy finishes and points people to unsanded for glass tile, glossy wall tile and polished stone. CUSTOM's data sheet describes its non-sanded grout as designed for highly glazed or polished tile, marble and natural stone that sanded grout would scratch. LATICRETE says the same about marble, other soft stone and soft glazed tile.
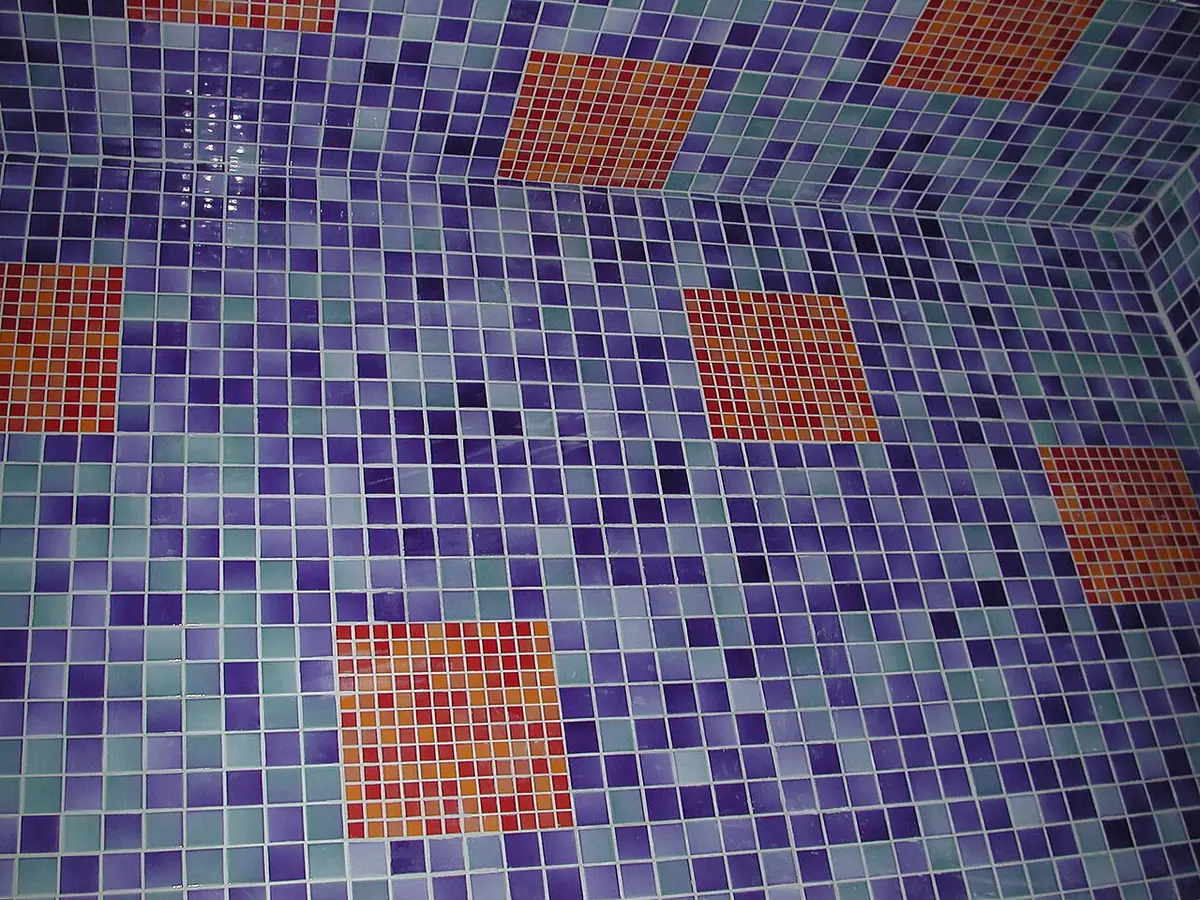

So at exactly 1/8 inch, ask what the tile is. Polished marble, glass, high-gloss subway tile: unsanded. Matte porcelain, quarry tile, slate, textured ceramic: sanded. And whatever you choose, grout a scrap or a spare tile first and look at it in daylight. Every manufacturer above tells you to test, and a scratched sample costs nothing.
Not every brand draws the line in the same place
LATICRETE is the notable exception. Its FAQ says to use sanded grout for most tile with joints from 1/16 inch to 1/2 inch, and to keep unsanded for soft or polished surfaces at 1/8 inch or less. Different sanded products use different sand, and some are formulated to pack narrower joints than others.
The practical lesson: the 1/8 inch rule is the safe default, but the bag in your hand is the final word. Read the joint range printed on it before you mix.
There's also a third route. MAPEI's Ultracolor Plus FA uses a fine aggregate and is rated for joints from 1/16 to 3/4 inch, so one product covers both cases. Even so, MAPEI notes it can occasionally scratch soft surfaces like polished marble or glass, so test it the same way. For showers, MAPEI calls epoxy grout the most water and stain resistant option, though it costs more and is harder to work.
Worked example: one bathroom, two grouts
Say you're tiling a bathroom with two different tiles:
- Floor: 60 sq ft of 12 by 24 inch porcelain with 3/16 inch joints. That's over 1/8 inch, so sanded.
- Shower walls: 90 sq ft of 4-1/4 inch glossy ceramic with 1/16 inch joints. Tight joints and a glossy face, so unsanded.
Using CUSTOM's published coverage charts: a 25 lb bag of Polyblend Plus Sanded covers about 310 sq ft of 12 by 24 tile at 3/16 inch, and a 7 lb box covers about 87 sq ft. One 7 lb box handles the 60 sq ft floor with room for waste; the 25 lb bag would leave you most of a bag to store.
For the walls, a 10 lb box of Polyblend Plus Non-Sanded covers about 156 sq ft of 4-1/4 inch tile at 1/16 inch. One box covers the 90 sq ft with plenty spare. Widen those wall joints to 1/8 inch and coverage drops to about 80 sq ft per box, so you'd need two. Joint width changes grout quantity more than almost anything else, which is why the grout calculator asks for it. For the full method, see how much grout you need.
Common mistakes
Using one grout for the whole bathroom because the colors match. Buy two products in the same color instead. MAPEI, for one, sells its sanded and unsanded cement grouts under the same color names, such as Warm Gray and Pewter.
Measuring joint width from the spacer packet instead of the installed tile. Handmade and rustic tiles vary in size, so the joints wander. Measure the widest joints you actually have.
Choosing sanded for a glossy backsplash because the joints are a bit wide, without testing. If the tile scratches, you'll see it in every raking light from the window. Test first.
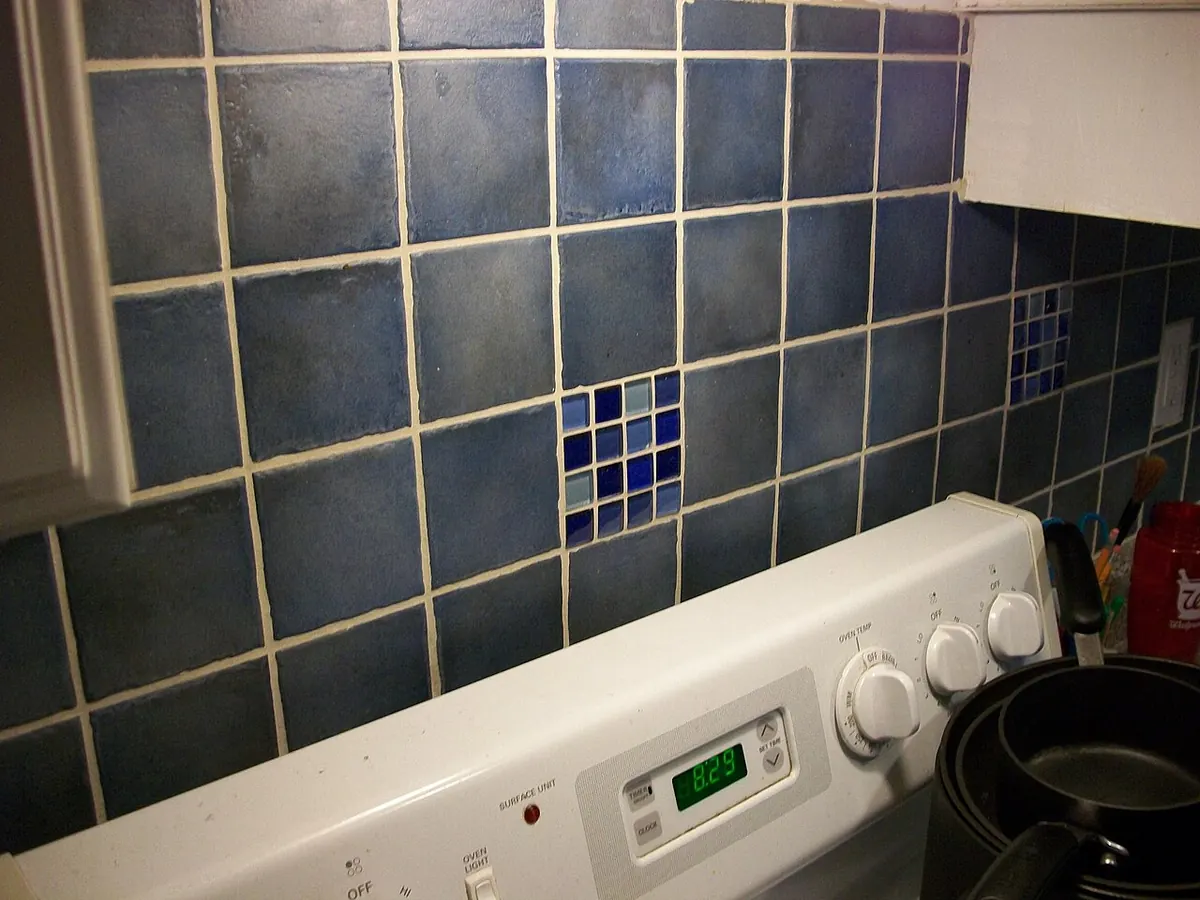

Mixing two tiles on one wall and choosing grout for the main tile only. Glass accents or a marble band in a ceramic field mean the most delicate material sets the rule for the whole wall.
FAQ
Can I use unsanded grout on a floor?
Yes, if the joints are 1/8 inch or less. CUSTOM's data sheet rates its non-sanded grout for both floor and wall installations. The limit is joint width, not where the tile sits.
Is sanded grout stronger than unsanded?
In a wide joint, yes, because the sand stops shrinkage and cracking. In a tight joint, no: sanded grout can't fill the joint fully and ends up weaker. Each is the stronger choice only in its own width range.
What about 1/8 inch joints with porcelain tile?
Porcelain isn't easily scratched, so sanded grout is the usual pick at 1/8 inch. Check the bag's rated range, since a few unsanded products top out right at 1/8.
Do I need to seal sanded or unsanded grout?
Standard cement grouts of both types are porous and absorb stains. MAPEI's product pages say both its sanded and unsanded cement grouts should be sealed, after waiting at least 5 days. Epoxy grout is the exception: MAPEI says it's so impervious it won't accept a sealer.
Grout is a small line on the bill, so it rarely gets much thought. Picking it by joint width and tile surface takes two minutes and saves you regrouting a shower. If you're still sizing the tile order, start with how many tiles you need.
Sources
- MAPEI · Choosing grout for showers (Tech Talk blog)
- MAPEI Home · Keracolor U Unsanded Grout (product FAQs)
- MAPEI Home · Keracolor S Sanded Grout (product FAQs)
- CUSTOM Building Products · Polyblend Plus Sanded Grout (joint range and coverage chart)
- CUSTOM Building Products · Polyblend Plus Non-Sanded Grout technical data sheet (TDS-369)
- LATICRETE · Cement grouts FAQ (when to use sanded or unsanded)
Estimates and rules of thumb in these guides are for planning. Always confirm product coverage, local codes and supplier figures before you buy.
Image credits
- Installer kneeling beside a wall of large pale tiles, spreading grout across the joints with a rubber float. Photo: MTA Capital Construction Mega Projects, via Wikimedia Commons, CC BY 2.0
- Shower floor and walls covered in small purple, teal and orange glass mosaic tiles with thin pale grout lines. Photo: Bart Everson, via Wikimedia Commons, CC BY 2.0
- Blue square kitchen backsplash tiles with small glass mosaic inserts and visible cream grout joints above a stove. Photo: Tomwsulcer, via Wikimedia Commons, Public domain
Photos are resized and converted to WebP for this site; no other changes. Each remains under its original licence.
Related guides
Flooring & Tile · Guide
How Much Grout Do I Need? Joint Width, Tile Size and Bags
Grout use depends on joint width and tile size far more than floor area. Worked pound counts for mosaic, subway and large tile, plus when a 25 lb bag is too much.
Flooring & Tile · Guide
How Many Tiles Do I Need? Measuring Floors, Walls and Backsplashes
Work out how many tiles to order: measure floors, walls and backsplashes, subtract only the big openings, add 10 to 20 percent waste, and keep spares for repairs.
Flooring & Tile · Guide
Flooring Waste Factor: Straight, Diagonal and Herringbone Layouts
How much extra flooring to buy for straight, diagonal, herringbone and chevron layouts. Waste percentages, why they differ, a worked 400 sq ft comparison, and when to add more.